Getting Started
Prerequisites
Throughout the documentation you will see yarn used. You are not required to use this however it is our package manager of choice. If you are still wanting to use npm then just note the subtle differences in the commands. yarn start would be the same npm start.
The minimum required Node.js version to run and use our toolkit is v22.12.0. Supported versions: ^22.12.0 || ^24.0.0.
Creating a new App Using the Workflow CLI
Our toolkit has a built in CLI that will allow you to run multiple commands like you would with any other react project. In addition to the default commands you would see like start, test, build we have an init command that will initialize a new project using a specified default template.
You can run the below command to get started:
npx @availity/workflow init workflow-app
What the above command is doing is using npx to download and execute the script without you having a pre-existing package.json. The init command is the command we send to our package @availity/workflow. The last argument, workflow-app is the project name that we gave.
Once the CLI finishes initializing the project we can cd into the directory with the below command:
cd ./workflow-app
Go ahead and start the application by running the below command:
yarn start
Project Structure
Next let's open the project in any one of your favorite editors so we can review the project structure.
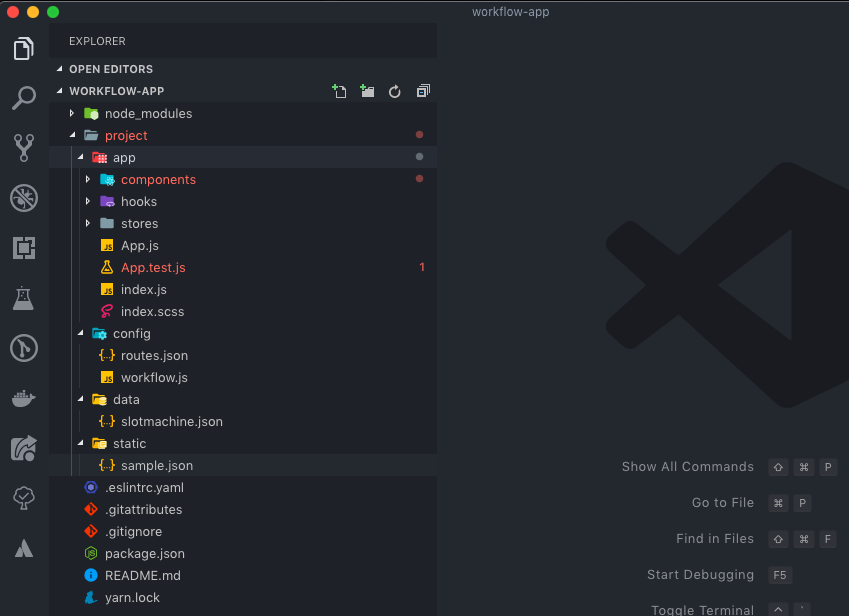
Our editor of choice is Visual Studio Code and the above screen shot is depicting what it would look like in here.
Application Code
All of our application logic is stored in the project/app folder. We can see the index.js is the main entry point.
Making any change to the files inside of project/app will automatically hot-reload the web page, given some small edge cases.
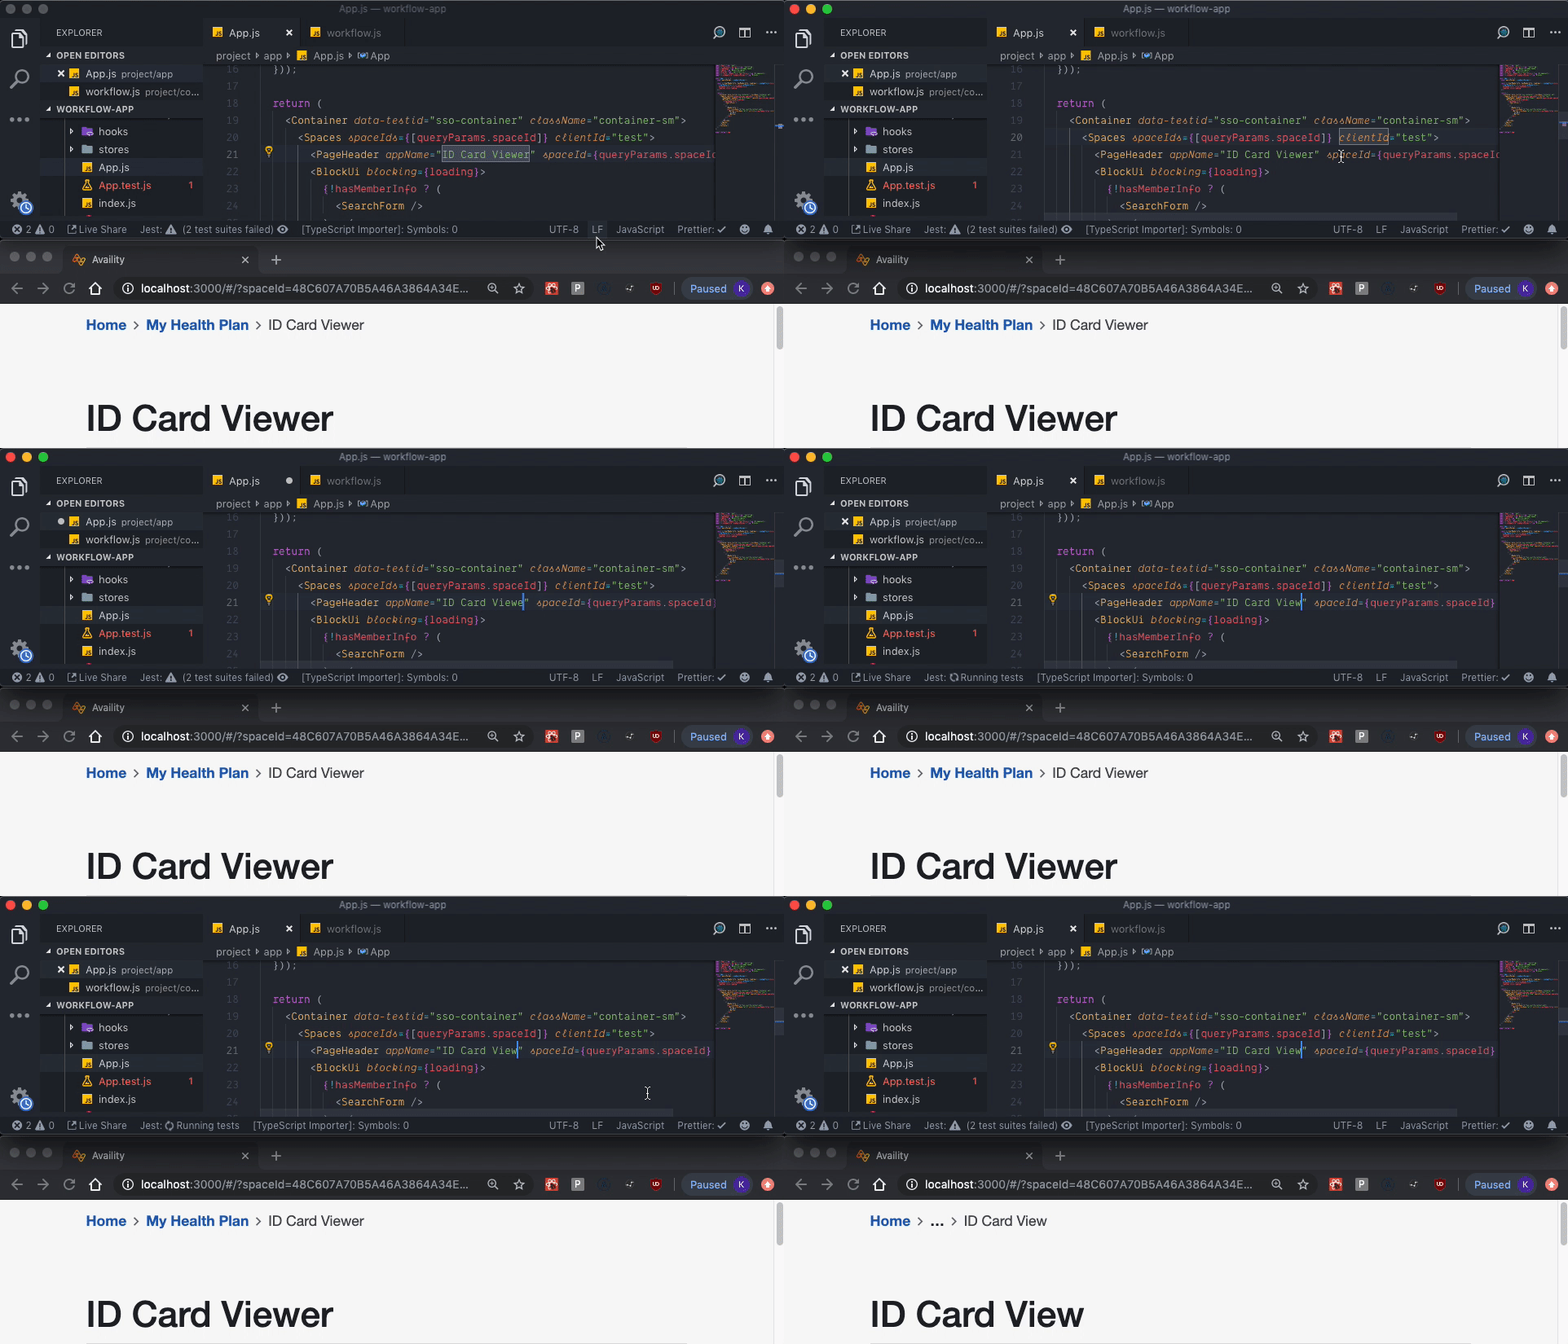
We recommend you explore the coding styles and libraries we chose in this starter toolkit before deleting as it has some good practices to follow when developing web applications.
Exploring workflow.js
Inside of the config folder there is a file titled workflow.js. You can use this file to provide any overrides to the webpack configuration, development dependencies as well as additional proxy configurations you may want.
Let's open the current file and see what we got.
/** @type {import('@availity/workflow').WorkflowConfigFunction} */
export default (config) => {
  config.development.open = '/';

  return config;
};
The workflow file takes in a config object which contains all of the webpack configurations, loaders, and more. We tell the dev server to open the application at the root path / once it has compiled.
config.development.open = '/';
You can change this to any route in your application — for example '#/dashboard' if your app uses hash-based routing.
Lastly we have to return the config for the rest of the build process to take advantage of the overrides we gave it.
By now you should have a general grasp on the project strcuture for developing and making changes to your application. Next we will talk about getting data into your application.